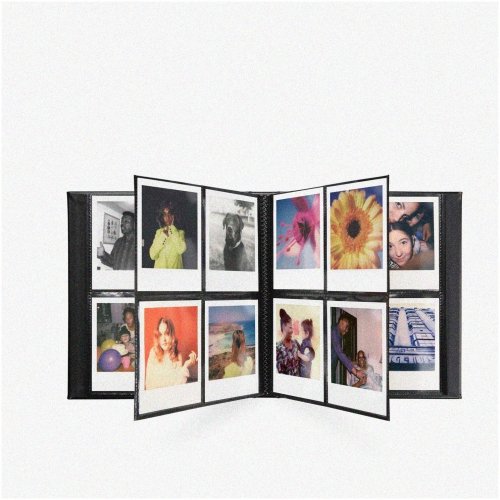
Up photo album is a popular trend in photo album design, where photos are organized in an upward scrolling format. This modern and dynamic layout offers a unique way to showcase your memories, making it a great option for those looking to create a visually engaging photo album.

Unlock the Magic of Memories: The Ultimate Guide to Setting Up Your Photo Album
Unlock the Magic of Memories: The Ultimate Guide to Setting Up Your Photo Album
Tutorial ✂️ MINI ALBUM scrapbooking para PRINCIPIANTES ✨ – Lomo SHAKER-✨
Vintage Scrapbook – Album Ảnh Bìa Thư, Sổ lưu niệm cổ điển • NGOC VANG Handmade
How can a photo album be created?
To create a photo album, follow these steps:
1. Select your photos: Choose the pictures you want to include in your album. Make sure they are of good quality and represent the theme or event you want to showcase.
2. Organize your photos: Arrange your photos in a logical order that tells a story or follows a timeline. This will make your album more engaging for viewers.
3. Choose an album format: Decide whether you want a physical photo album or a digital one. Physical albums can be traditional scrapbooks or modern printed books, while digital albums can be created online or using software.
4. Start designing: If creating a physical album, gather supplies like paper, adhesive, and decorations. For digital albums, use online platforms or software to layout your photos and add text or graphics.
5. Add captions or descriptions: Provide context to your photos by including captions or short descriptions. This will help viewers understand the significance of each image.
6. Review and finalize: Take a final look at your album to make sure everything is in place. Make any necessary adjustments before completing your creation.
7. Share or store your album: Once your photo album is ready, decide whether you want to share it with others or keep it for personal enjoyment. Share it online, gift it to someone special, or store it safely for future viewing.
By following these steps, you can create a beautiful and meaningful photo album that preserves your memories for years to come.
How to make an album with paper?
To make an album with paper for your photos, follow these steps:
1. Gather Materials: Collect colored or patterned cardstock or paper, scissors, glue, ruler, pencil, and decorative embellishments like stickers or ribbons.
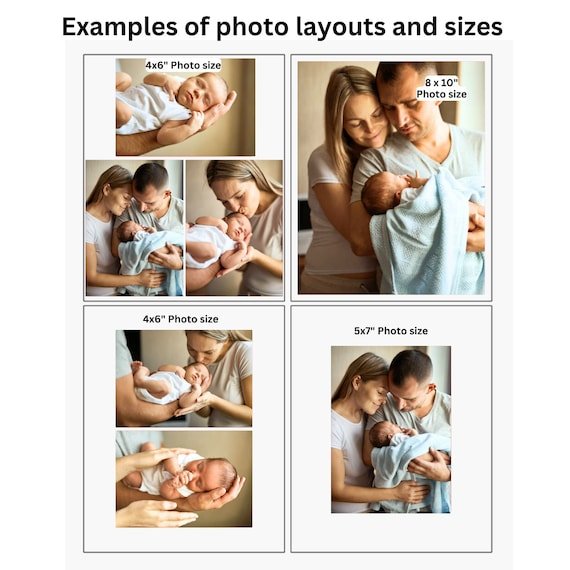
2. Design Layout: Decide on the size and layout of your pages. You can create standard square or rectangular pages, or get creative with shapes like circles or hearts.
3. Cut Paper: Use your ruler and pencil to measure and mark the paper for cutting. Cut out the desired shapes for your album pages.
4. Assemble Pages: Arrange your photos on each page along with any decorative elements. Once you’re happy with the layout, glue everything down securely.
5. Add Details: Personalize your album by adding captions, dates, or notes next to each photo. You can also include small pockets for extra pictures or memorabilia.
6. Bind Album: After all the pages are complete, stack them together in order. You can bind them using a hole punch and ribbon, or with binding rings from a craft store.
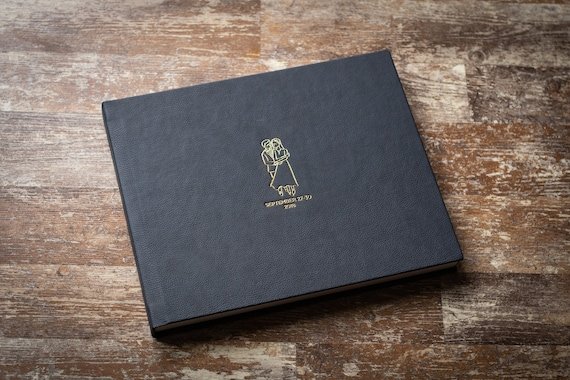
7. Decorate Cover: Design a cover for your album using a sturdier material like chipboard. Add a title, decorations, and any other embellishments to make it unique.
8. Protect Your Creations: Consider using page protectors or laminating your pages to keep your album looking fresh for years to come.
By following these steps, you can create a beautiful and personalized paper album to preserve your precious memories. Let your creativity shine through as you design each page!
What to include in an adventure book?
When creating an adventure-themed photo album, there are several elements you may want to include to capture the essence of the experience. Here are some key things to consider including in your adventure book:
1. Scenic Landscapes: Include photographs of the stunning natural landscapes you encountered during your adventure. Whether it’s mountains, forests, beaches, or deserts, these images can help transport viewers to the places you explored.
2. Action Shots: Capture the excitement of your adventure with action shots. Whether it’s hiking, biking, surfing, or any other activity, these images can add a sense of movement and energy to your photo album.
3. Close-Up Details: Don’t forget to include close-up shots of interesting details you encountered along the way. This could be a unique plant, animal, or even a close-up of your gear. These images can add depth and texture to your album.
4. Group Photos: If you went on the adventure with friends or family, be sure to include group photos. These images can capture the camaraderie and shared experiences of your journey.
5. Candid Moments: Some of the best memories are often captured in candid moments. Include photos of laughter, surprise, or quiet reflection to add a personal touch to your adventure book.
6. Memorable Quotes or Notes: Consider adding memorable quotes or personal notes to accompany your photos. These can help provide context, share insights, or evoke emotions tied to specific moments in your adventure.
By including these elements in your adventure-themed photo album, you can create a visually compelling and emotionally engaging narrative of your experience.
How can scrapbooking be done?
Scrapbooking can be done by following these steps:
1. Gather materials: Collect photos, memorabilia, decorative papers, stickers, and embellishments that you want to include in your scrapbook.
2. Select a theme: Decide on a theme for your scrapbook, such as a specific event, trip, or person, to tie everything together.
3. Organize your materials: Arrange your photos and other elements in a way that is visually appealing and tells a story.
4. Design the layout: Create a layout for each page using background papers, borders, and embellishments to enhance the overall look.
5. Add journaling: Write down memories, thoughts, and anecdotes to accompany the photos and provide context to your scrapbook.
6. Protect your pages: Use page protectors or clear sheets to safeguard your creations from damage and wear over time.
7. Assemble your scrapbook: Put all the pages together in a photo album or binder to showcase your finished scrapbook.
Remember to have fun and get creative with your scrapbooking process!
Frequent Questions
How can I organize the photos in my album by date?
You can organize the photos in your album by date using the sort by date feature.
Is it possible to add captions or notes to individual photos in the album?
Yes, it is possible to add captions or notes to individual photos in the album.
Can I share my photo album with friends and family online?
Yes, you can share your photo album with friends and family online easily.
In conclusion, creating an up photo album can be a wonderful way to preserve your memories and share them with others. By organizing your photos and adding personal touches, you can create a beautiful keepsake that will be cherished for years to come. Whether you choose to make a physical album or a digital one, the process of curating your photos and telling your story can be a truly rewarding experience. So gather your favorite photos, get creative, and start crafting your own up photo album today!