Senior photo collage is a creative way to celebrate achievements and memories. In this article, discover inspiring ideas and tips to create a stunning senior year photo collage that will capture those special moments forever.

Crafting Memorable Senior Photo Collages: Tips and Ideas
Creating a senior photo collage is a wonderful way to commemorate this special time in a student’s life. It’s a chance to highlight favorite memories, achievements, and friendships.
Here are some tips to help you craft a memorable senior photo collage:
1. Choose a theme: Whether it’s based on school colors, extracurricular activities, or future plans, having a theme can tie the collage together beautifully.
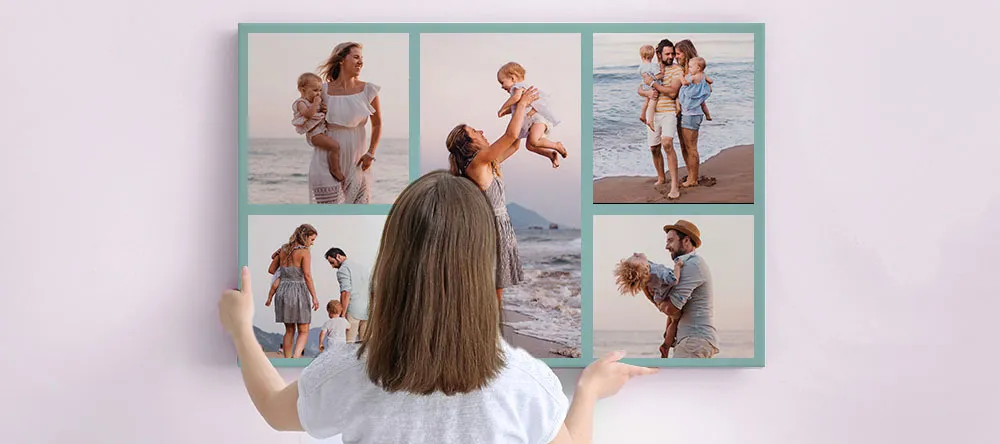
2. Include a variety of photos: Mix posed portraits with candid shots, group photos with solo shots. This variety adds visual interest and tells a more complete story.
3. Personalize it: Add quotes, captions, or even memorabilia to give the collage a personal touch. This could include ticket stubs, notes, or other items that hold special meaning.
4. Don’t forget to include important milestones: Graduation day, prom, sports events, academic achievements – make sure all key moments are represented in the collage.
5. Play with layouts: Experiment with different arrangements before settling on the final design. Consider using a mix of sizes and orientations for a dynamic look.
By following these ideas and incorporating your own creativity, you can craft a senior photo collage that will be cherished for years to come.
How To: Tips for Better Senior Portraits
How to get super SHARP Group Portraits
Does Walgreens make picture collage?
Yes, Walgreens does offer picture collage services. Customers can create and order photo collages online through the Walgreens website or mobile app. They provide various templates and customization options for creating personalized collages with multiple pictures. Once the collage is created, customers can choose to have it printed on different products such as posters, canvas prints, or photo books at their nearest Walgreens store or have it delivered to their home.
How can you take your own senior photos?
To take your own senior photos for a Photo Collage, follow these steps:
1. Choose a good location: Look for a location with good natural lighting and a nice background for your photos. Consider outdoor locations like parks, gardens, or urban areas.
2. Set up your camera: Use a tripod to set up your camera at the right angle. Make sure it is stable and positioned correctly to capture the best shots.
3. Set the timer or use a remote: If you don’t have someone to help you take photos, set the timer on your camera or use a remote control to take the photos yourself.
4. Pose and express yourself: Experiment with different poses and facial expressions. Show your personality and style in the photos.
5. Take multiple shots: Take multiple shots to ensure you have plenty of options to choose from for your Photo Collage.
6. Edit and enhance: Use photo editing tools to enhance your photos. Adjust the lighting, colors, and overall look of the images to make them stand out.
7. Create your collage: Once you have edited your photos, use a photo collage maker to arrange them creatively. Choose a layout that best showcases your senior photos.
By following these steps, you can take your own senior photos and create a stunning Photo Collage to commemorate your senior year.
How can I create a photo collage using old photos?
To create a photo collage using old photos, follow these steps:
1. Gather your old photos: Collect the photos you want to include in your collage. Make sure to scan them if they are printed to have digital copies.
2. Choose a collage maker: There are numerous online tools and apps available for creating photo collages. Some popular options include Canva, PicCollage, and Adobe Spark.
3. Select a layout: Choose a layout that suits the number of photos you have and the style you prefer. You can opt for a grid layout, a freeform collage, or a themed template.
4. Upload your photos: Import your old photos into the collage maker. Arrange them in the desired order or follow the template’s suggestions.
5. Customize your collage: Add text, stickers, filters, or other decorations to enhance your collage. Play around with different settings until you achieve the look you want.
6. Edit and refine: Once you are satisfied with the arrangement and design, make any final adjustments. Crop or resize photos as needed to fit the layout.
7. Save and share: Save your completed collage in high resolution. You can then share it on social media, print it as a physical copy, or create personalized gifts for friends and family.
By following these steps, you can create a beautiful photo collage using your old photos. Be creative and have fun with the process!
How to create an image collage?
To create an image collage, you can follow these steps:
1. Select your images: Choose the photos you want to include in your collage. Make sure they are of a similar size or aspect ratio for a cohesive look.
2. Choose a layout: Decide on the layout of your collage. You can opt for a grid style, a scattered arrangement, or a themed design.
3. Use a collage maker tool: There are many online tools and apps available that can help you create a collage easily. Some popular options include Canva, PicCollage, and Adobe Spark.
4. Arrange your images: Upload your selected images into the collage maker tool and start arranging them according to your chosen layout.
5. Customize your collage: Add backgrounds, text, stickers, or filters to enhance your collage and make it more visually appealing.
6. Review and adjust: Once you’re satisfied with the arrangement and customization, review your collage and make any necessary adjustments before saving or sharing it.
7. Save and share: Save your collage in the desired format (JPG, PNG, etc.) and share it on social media, print it out, or use it as a digital decoration.
Creating an image collage is a fun way to showcase multiple photos in a creative and personalized way. Experiment with different layouts and styles to find what works best for your images!
Frequent Questions
What size should a senior photo collage be for printing?
A senior photo collage should be printed at a size that is suitable for framing, typically around 8×10 inches or 11×14 inches.
Can I include digital filters on my senior photo collage?
Yes, you can include digital filters on your senior photo collage.
How can I best arrange the photos in my senior photo collage to create a cohesive look?
Group photos by theme or color scheme to create a cohesive look in your senior photo collage. Incorporate a mix of close-up and full-body shots for visual interest.
In conclusion, creating a senior photo collage is a wonderful way to celebrate and commemorate this significant milestone in life. By bringing together a collection of cherished memories and moments, a senior photo collage serves as a visual reminder of the journey taken and the accomplishments achieved. Whether displayed proudly at a graduation party or kept as a personal keepsake, senior photo collages are a heartfelt representation of the individual’s unique story and essence. Embrace the opportunity to curate and design a senior photo collage that truly reflects the essence of the senior year experience, creating a lasting tribute to this special time in one’s life.