Looking for a creative way to preserve memories? Dive into the world of print photo booth strips and learn how this classic format can add a fun and unique touch to your photos. Discover tips and ideas to make the most out of this nostalgic printing style on thebestphotostudio.

Capturing Memories: The Magic of Printing Photo Booth Strips
Photo booth strips are not just pieces of paper; they are memories frozen in time.
With the rise of digital photography, the art of printing photos has somewhat been forgotten. However, there is something magical about holding a physical copy of a photo strip in your hands.
Each strip tells a story, capturing a moment of joy, silliness, or love. Printing these strips allows us to preserve these memories for years to come.
So next time you find yourself in front of a photo booth, take a moment to appreciate the magic of printing those strips.
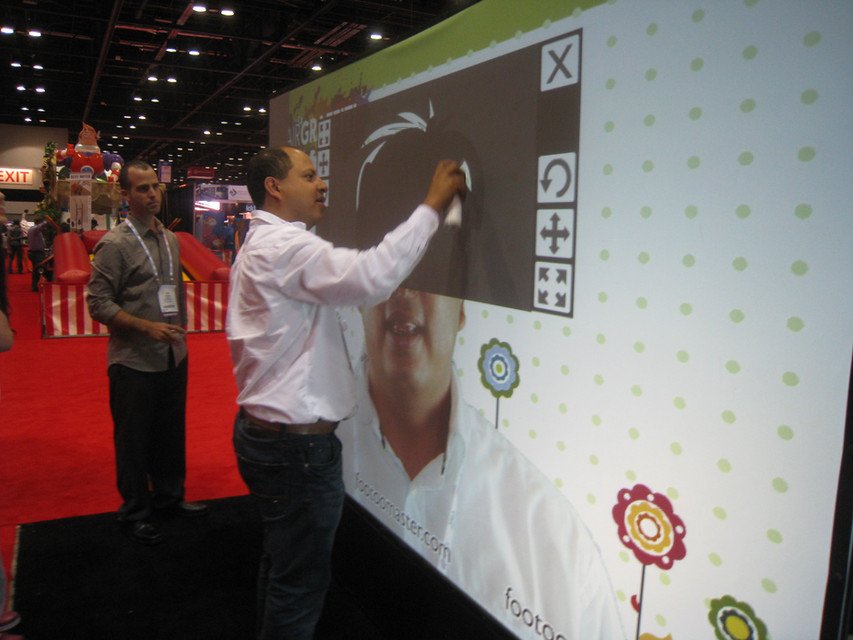
How to Create Overlays & Photo Templates in Canva | Photo Booth Software
Godox Flash Discovery While Shooting Macro Stacks!
How do I print photobooth strips?
To print photobooth strips, follow these steps:
1. Take photos: First, take a series of photos in a photobooth or using a camera or smartphone.
2. Edit the photos: Use photo editing software to ensure the photos are properly cropped and formatted for a strip layout.
3. Create a collage: Open a design software or online tool and arrange the photos in a strip layout. Make sure they are in the correct order.
4. Export the file: Once the collage is ready, export it as a high-resolution image file (such as a JPEG or PNG).
5. Choose a printing method: You can either print the photobooth strips at home using a photo printer or use an online printing service.
6. Print the strips: If printing at home, make sure to use quality photo paper for the best results. If using a printing service, upload the file and select the desired print size and quantity.
7. Trim the strips: Carefully cut out the printed strips along the borders to separate them into individual strips.
8. Enjoy your photobooth strips: Share them with friends and family or use them as party favors or keepsakes.
By following these steps, you can easily print photobooth strips for any occasion.
What are the size of photo booth paper strips?
Photo booth paper strips typically measure 2 inches in width and can vary in length depending on the specific photo booth machine or printer being used. The standard length for photo booth paper strips is usually around 6 inches, which allows for multiple pictures to be printed on a single strip.
How do I create my own photo booth prints?
To create your own photo booth prints, you will need a few key materials and access to a printer. Here’s a simple guide to help you get started:
1. Design your print layout: Use software like Photoshop or Canva to create a custom design for your photo booth print. Make sure to include space for the photo itself, as well as any additional graphics or text you’d like to include.
2. Print your design: Once you’re happy with your design, use a high-quality printer to print it out. Make sure to use photo paper for the best results.
3. Cut your prints: Carefully cut out each print along the edges to create individual photo booth prints.
4. Set up your photo booth: Place your prints near the photo booth station for easy access for guests. You can also provide props and a backdrop to enhance the photo booth experience.
5. Display instructions: Consider including simple instructions for guests on how to use the photo booth and where to find their prints once they’re done.
6. Have fun: Once everything is set up, let the photo booth fun begin! Encourage guests to take photos and enjoy the prints as a keepsake from the event.
By following these steps, you can create your own custom photo booth prints to add a personalized touch to any event or gathering.
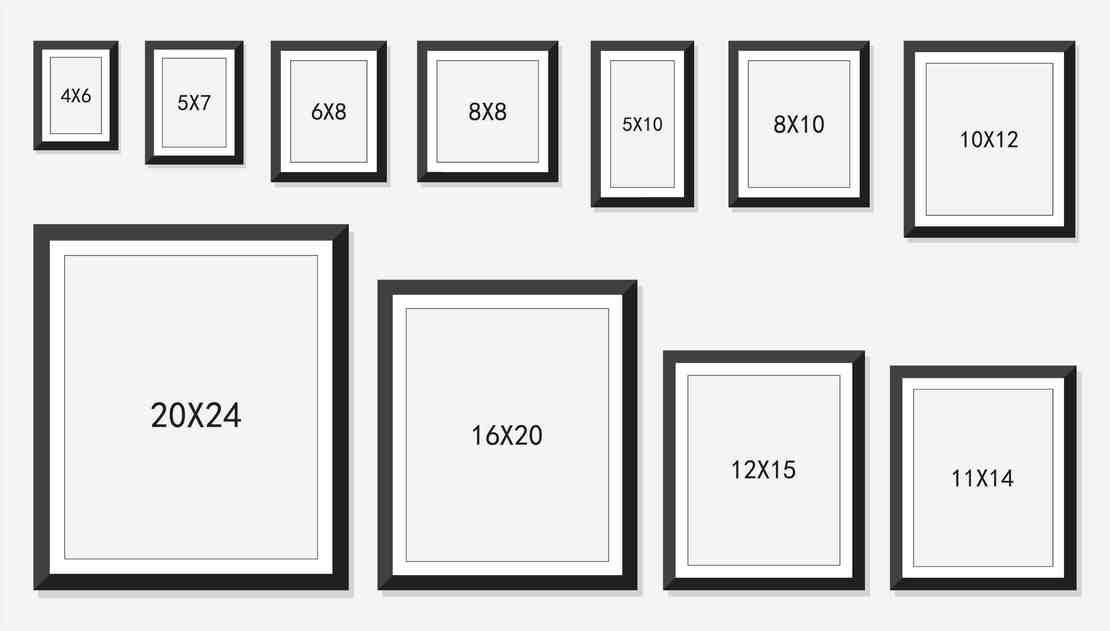
How can photo booth strips be framed?
To frame photo booth strips, you can follow these steps:
1. Choose a frame that fits the size of your photo booth strips. Look for frames with multiple openings or collage frames if you have several strips to display.
2. Carefully trim any excess paper or white borders around the strips to ensure they fit perfectly in the frame.
3. Place the strips in the frame, ensuring they are straight and aligned properly.
4. You can use adhesive tape or photo corners to secure the strips in place if needed.
5. Consider adding a mat board behind the strips to create a more polished look and to prevent them from slipping within the frame.
6. Hang the framed photo booth strips on your wall using picture-hanging hardware or display them on a shelf for a fun and retro touch to your decor.
Frequent Questions
How can I print photo booth strips at home?
You can print photo booth strips at home using a photo printer that supports the specific size of strips you need.
What is the best paper to use for printing photo booth strips?
The best paper to use for printing photo booth strips is glossy photo paper.
Are there any online services that offer printing of photo booth strips?
Yes, there are online services that offer printing of photo booth strips.
In conclusion, the nostalgia and charm of print photo booth strips continue to captivate people of all ages, providing a tangible keepsake in a digital world. Whether it’s for a special event or just a fun day out with friends, the traditional appeal of these strips adds a unique touch to any collection of memories. Embrace the art of photo printing and bring your photos to life in a way that is both timeless and unforgettable.