Photo collage glass is a unique and creative way to display your favorite photos. Through the combination of images and glass, you can create stunning pieces of art that add a special touch to any room. Learn how to make your own photo collage glass in our latest article on thebestphotostudio blog!

Captivating your Memories: The Beauty of Photo Collage Glass
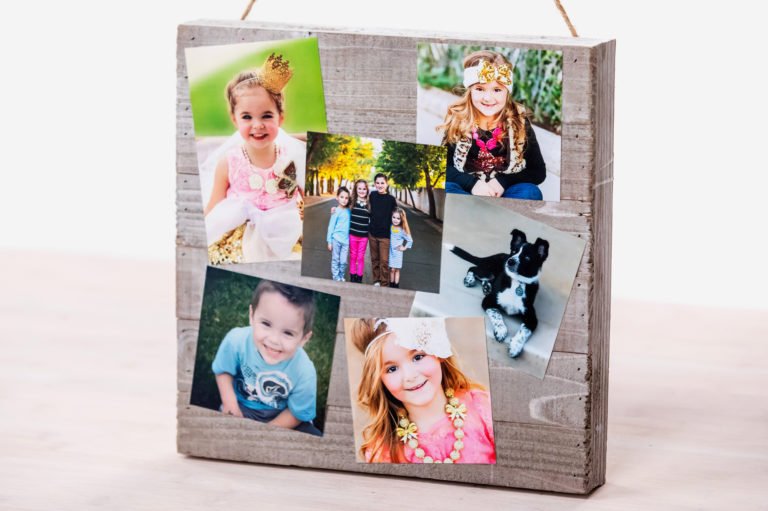
Photo collage glass is a stunning way to display and preserve your precious memories. By combining multiple photos into a single, intricate design, you can create a truly unique piece of art that captures the essence of special moments in your life.
One of the most appealing aspects of photo collage glass is its ability to transform ordinary photos into captivating works of art. The glass adds a sleek and modern touch to the collage, making it a stylish addition to any home or office.
Moreover, the reflective qualities of the glass serve to enhance the colors and details of the photos, creating a dazzling effect that is sure to draw attention. Whether you choose to display a collage of family photos, travel adventures, or special occasions, photo collage glass is a wonderful way to celebrate and cherish your memories for years to come.
Can you transfer your PHOTOS without a medium?? Amazing INKJET transfer technique
Reverse decoupage with mirror effect
What company puts photos on glass?
One company that puts photos on glass is Fracture. They specialize in printing photos directly onto glass for a sleek and modern look, perfect for creating unique photo collages.
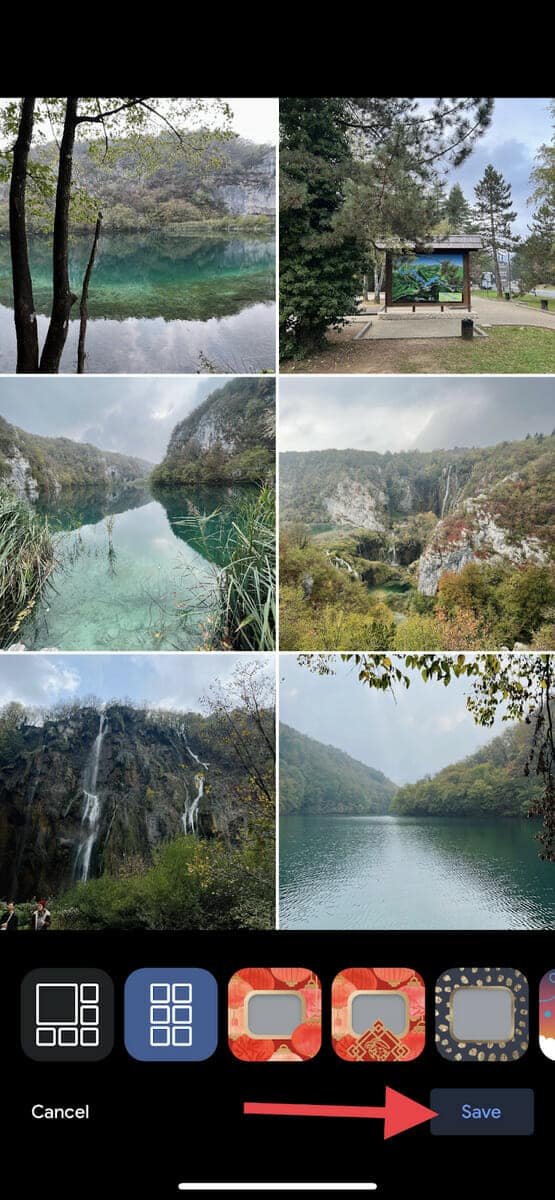
How do you make a window collage?
To make a window collage, you can follow these steps:
1. Select your photos: Choose a variety of photos that you want to include in your collage. You can pick images that have a similar theme or color scheme for a cohesive look.
2. Create a frame: Start by outlining the shape of a window on a piece of paper or canvas. This will serve as the frame for your collage.
3. Arrange your photos: Cut out your selected photos into different shapes and sizes to fit within the window frame. Play around with the arrangement until you are satisfied with the layout.
4. Glue down the photos: Use a glue stick or adhesive to secure the photos onto the paper or canvas within the window frame. Make sure to overlap some photos for a layered effect.
5. Add embellishments: Consider adding decorative elements such as stickers, washi tape, or markers to further enhance your window collage.
6. Final touches: Once you are happy with the arrangement, let the collage dry completely before displaying it in your home or giving it as a gift.
Creating a window collage is a fun and creative way to showcase your favorite photos in a unique and artistic way. Experiment with different layouts and designs to make your collage truly one-of-a-kind.
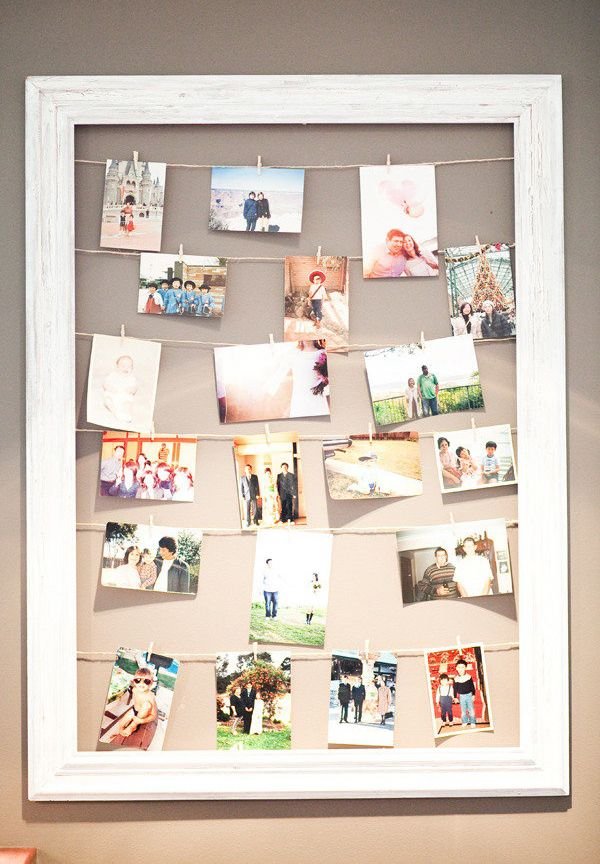
How can a photo be mounted on glass?
Mounting a photo on glass can create a unique and modern look for your photo collage. Here are the steps to mount a photo on glass:
1. Choose a suitable glass: Select a piece of glass that is thick enough to provide durability and support for your photo. Make sure the glass is clean and free of any dust or debris.
2. Prepare your photo: Print your photo on a high-quality paper using a printer that is compatible with the type of paper you are using. Trim the edges of the photo if necessary to fit the size of the glass.
3. Apply adhesive: Place a thin layer of adhesive, such as a gel medium or double-sided adhesive tape, onto the back of the photo. Be sure to spread the adhesive evenly to avoid any lumps or bubbles.
4. Attach the photo to the glass: Carefully place the photo onto the glass, ensuring that it is centered and aligned correctly. Press down on the photo firmly to secure it in place.
5. Allow time to dry: Let the adhesive dry completely according to the manufacturer’s instructions. This will ensure that the photo is securely attached to the glass.
6. Display your photo: Once the photo is mounted on the glass, you can display it on a wall or stand it up on a shelf to showcase your photo collage in a stylish and contemporary way.
By following these steps, you can create a stunning photo collage mounted on glass that is sure to impress viewers.
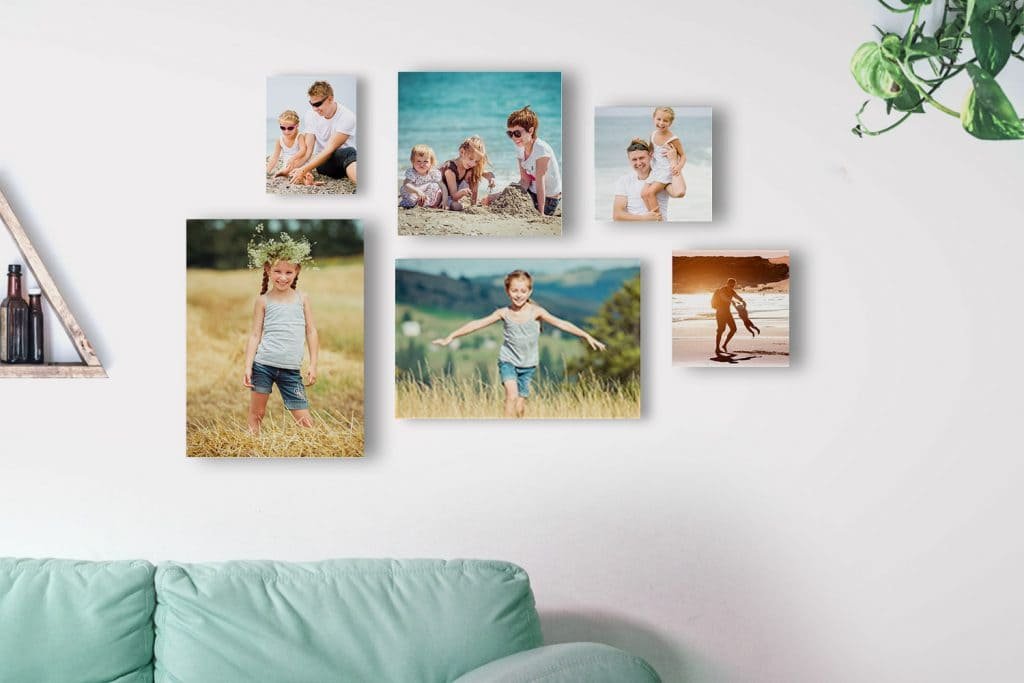
What photos resemble glass?
Photos that resemble glass in a Photo Collage can include images of crystal clear water, reflective surfaces like mirrors or metallic objects, glass windows or doors, and close-up shots of ice or frost. These photos typically have a shiny and transparent quality that mimics the appearance of glass. Incorporating these elements into your Photo Collage can create a modern and sleek aesthetic.
Frequent Questions
What is a photo collage glass?
A photo collage glass is a type of collage created using glass as the medium, where multiple photographs are arranged and displayed together.
How can I create a photo collage on glass?
You can create a photo collage on glass using mod podge or a special adhesive for glass. Arrange your photos on the glass surface, apply the adhesive, and let it dry completely.
Where can I buy supplies for making a photo collage glass?
You can buy supplies for making a photo collage glass at craft stores or online art supply shops.
In conclusion, the use of photo collage glass offers a unique and creative way to display your favorite memories and images. Its transparent properties add a modern and elegant touch to any space, making it a versatile option for both home decor and personalized gifts. Consider incorporating photo collage glass into your next project for a stunning and innovative result that is sure to impress.