Discover the magic of photo Christmas bulbs in our latest blog post at The Best Photo Studio. Transform your holiday décor with stunning images captured on these festive ornaments. Let your creativity shine and spread joy this season with unique photography ideas!

Capturing the Magic: Creative Ways to Display Photo Christmas Bulbs
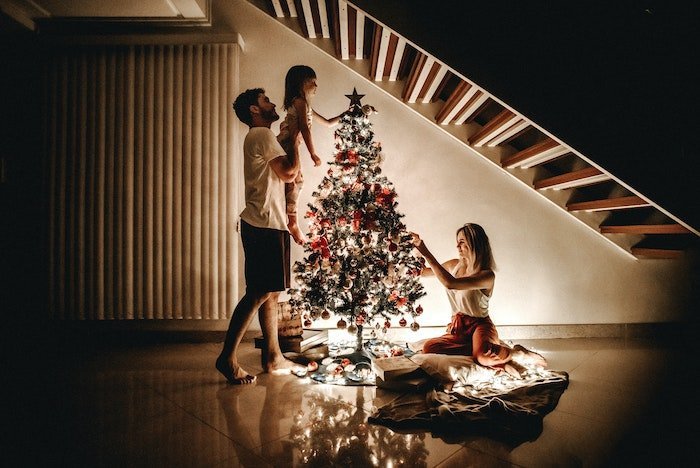
Your favorite memories. One idea that adds a touch of magic to your holiday decor is using photo Christmas bulbs. These unique ornaments allow you to showcase cherished photos in a festive and eye-catching way.
One creative way to display photo Christmas bulbs is to create a dazzling photo garland. Simply string together a series of photo bulbs to hang along your mantel, staircase, or even across a blank wall. This creates a striking display that is sure to spark joy and conversation among your guests.
Another captivating idea is to personalize your Christmas tree with photo bulbs. Mix these customized ornaments in with traditional baubles and lights for a heartwarming touch that celebrates your family’s most treasured moments.
Incorporating photo Christmas bulbs into your holiday decor is a charming way to capture the magic of the season and create lasting memories for years to come. Let your creativity shine this Christmas as you showcase your photos in a truly special and merry way.
Got a Dollar Store cutting board? This is genius!
Got an old lampshade lying around? This is BRILLIANT!
How do you get a picture on an ornament?
To get a picture on an ornament for your Christmas Photo, you can follow these steps:
1. Choose the picture: Select a high-quality image that you would like to have on the ornament.
2. Select the ornament: Pick out an ornament that has a suitable surface for adding a picture. Flat or rounded ornaments work best.
3. Edit the picture: Resize and crop the picture to fit the dimensions of the ornament. You can use photo editing software or apps for this step.
4. Print the picture: Print the edited picture on special decal paper or transfer paper. Make sure to use a printer that is compatible with the type of paper you are using.
5. Apply the picture: Cut out the picture from the paper and carefully apply it to the ornament’s surface. Smooth out any air bubbles or wrinkles.
6. Seal the picture: To protect the picture from wear and tear, you can use a clear sealant spray or brush-on sealer to coat the ornament.
7. Let it dry: Allow the ornament to dry completely before handling or hanging it on the Christmas tree.
Following these steps will help you create a personalized ornament with a picture for your Christmas Photo.
How do you put a picture in a clear Christmas bulb?
To put a picture in a clear Christmas bulb, you will need to follow these steps:
1. Choose a clear Christmas bulb: Select a clear plastic or glass Christmas bulb that can be opened. Make sure it’s the right size to fit your picture inside.
2. Print and cut your picture: Print a picture that you want to place inside the bulb. Make sure the picture is small enough to fit through the opening of the bulb. Cut the picture to the desired size.
3. Prepare the bulb: Carefully remove the top of the Christmas bulb to create an opening. Be gentle to avoid breaking the bulb.
4. Insert the picture: Roll up the printed picture and carefully insert it into the bulb through the opening. You may need to use tweezers or a small tool to position the picture nicely inside the bulb.
5. Secure the picture: Once the picture is inside the bulb, you can use some glue or adhesive putty to secure it in place. Be careful not to use too much glue, as it may obstruct the view of the picture.
6. Replace the top: After securing the picture, put back the top of the Christmas bulb to close it. Make sure it is properly sealed to keep the picture in place.
7. Display your creation: Once the picture is securely placed inside the Christmas bulb, you can display it on your tree or anywhere else in your home for a unique and personalized decoration.
How do you transfer photos to ornaments?
To transfer photos to ornaments for Christmas, you can follow these steps:
1. Choose your ornament: Select the type of ornament you want to personalize with your photo. Common options include ceramic ornaments, wooden ornaments, or glass ornaments.
2. Print your photos: Print out the photos you want to use on the ornaments. Make sure the size fits the ornament you’ve chosen.
3. Prepare the ornament: Clean the surface of the ornament where you will be placing the photo to ensure it is free of dust and dirt.
4. Apply adhesive: Use a suitable adhesive such as Mod Podge or craft glue to stick the photo onto the ornament. Apply the adhesive evenly on the back of the photo.
5. Attach the photo: Carefully place the photo onto the ornament, smoothing out any air bubbles or wrinkles. Press down firmly to ensure it adheres properly.
6. Seal the photo: To protect the photo and ensure it stays in place, you can apply a layer of clear sealant over the photo. This will also give the ornament a finished look.
7. Let it dry: Allow the ornament to dry completely before handling or displaying it. Follow the drying instructions provided for the adhesive and sealant you used.
Following these steps will help you create personalized ornaments with your favorite photos for a festive touch to your Christmas decor.
How to create DIY ornaments with pictures?
To create DIY ornaments with pictures for Christmas, follow these steps:
1. Gather materials: You will need clear ornaments, printed photos, Mod Podge or clear glue, a foam brush, and glitter (optional).
2. Prepare the photos: Cut out the desired images from your printed photos to fit the size of the ornament.
3. Apply glue: Use the foam brush to apply a thin layer of Mod Podge or clear glue to the back of the photo. Press it onto the inside of the ornament, smoothing out any air bubbles.
4. Add glitter (optional): To give your ornament some extra sparkle, sprinkle a bit of glitter inside the ornament before the glue dries.
5. Seal the ornament: Apply another layer of Mod Podge or clear glue over the back of the photo to seal it and protect it from damage.
6. Let it dry: Allow the ornament to dry completely before replacing the top and hanging it on your Christmas tree.
7. Personalize: Get creative by adding ribbons, beads, or other embellishments to make your DIY ornament unique.
Enjoy creating personalized Christmas ornaments with your favorite photos!
Frequent Questions
How can I personalize my Christmas photo bulbs?
You can personalize your Christmas photo bulbs by adding custom photos and personal messages to them.
Are Christmas photo bulbs suitable for outdoor use?
Yes, Christmas photo bulbs are suitable for outdoor use as long as they are labeled as such and can withstand outdoor conditions.
What is the recommended size for printing photos on Christmas bulbs?
The recommended size for printing photos on Christmas bulbs is typically 2 inches in diameter.
In conclusion, photo Christmas bulbs are a unique and creative way to add a personal touch to your holiday decorations. Whether you choose to display cherished memories or festive images, these customizable ornaments are sure to bring joy and warmth to your Christmas tree. Let your creativity shine this holiday season with photo Christmas bulbs!