Putting photos in a photo album can be a fun and rewarding experience. In this article, we will explore step-by-step instructions on how to organize and display your photos in a beautiful photo album. Get ready to preserve your memories in a creative and stylish way!

Organizing Memories: A Step-by-Step Guide to Putting Photos in a Photo Album
Organizing Memories: A Step-by-Step Guide to Putting Photos in a Photo Album
When it comes to organizing memories, a photo album can be a wonderful way to curate and preserve your most cherished moments. Follow this step-by-step guide to ensure your photos are beautifully arranged and protected for years to come.
1. Gather all your photos in one place. This includes physical prints, digital images, and any other memorabilia you wish to include in your album.
2. Categorize your photos by event, date, or theme. This will help you create a cohesive narrative as you arrange them in your album.
3. Select a high-quality photo album that suits your style and needs. Consider factors such as size, material, and design to find the perfect fit for your collection.
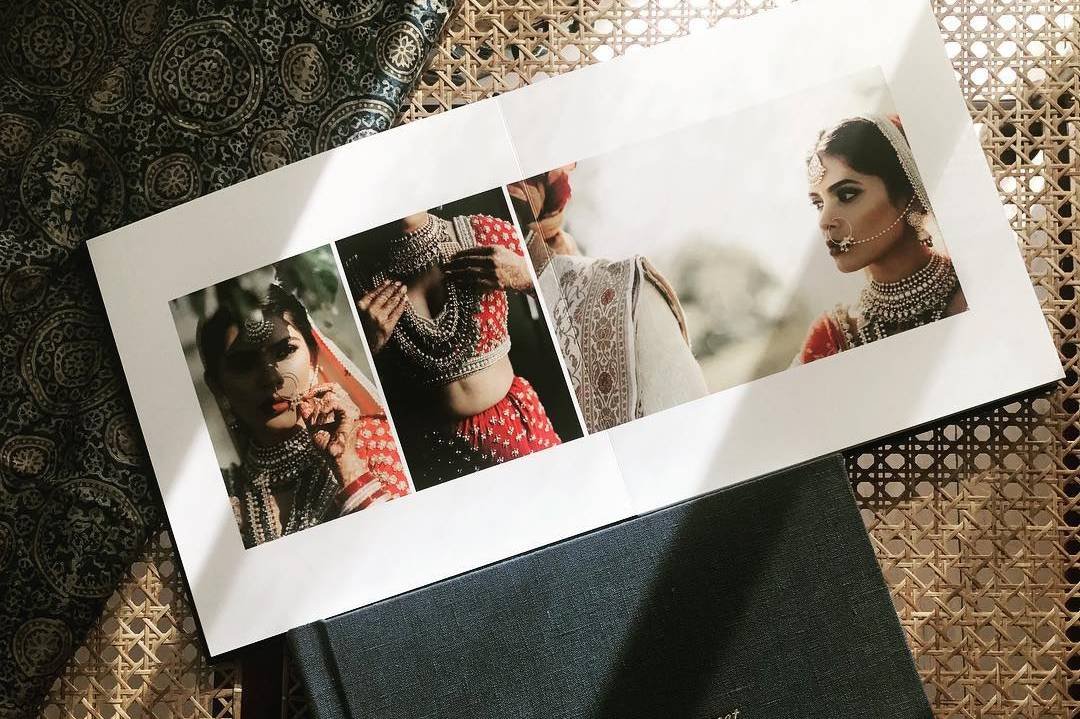
4. Arrange your photos in a logical order. Start with an introduction or cover page, then progress through your memories in a meaningful sequence.
5. Label your photos with dates, names, and locations to add context and enhance the storytelling aspect of your album.
6. Protect your photos by using archival-safe materials such as photo sleeves, acid-free paper, and protective covers to prevent fading and damage over time.
7. Personalize your album with captions, notes, and decorative elements to make it uniquely yours.
By following these steps, you can create a beautiful and organized photo album that preserves your memories for generations to come. Get started today and enjoy reliving your favorite moments each time you flip through its pages.
Decluttering Memorabilia – How a Professional Organizer Guides a Client Through the Process
Apple Photos – how to make it (really) useful.
How can photos be added to a photo album?
To add photos to a photo album, you can follow these steps:
1. Select the photos: Choose the photos you want to add to the album from your device or computer.
2. Create a new album or open an existing one: If you don’t have an album yet, create a new one with a relevant title. If you already have an album, simply open it.
3. Upload the photos: Depending on the platform or software you are using, there should be an option to upload or add photos to the album. This can usually be done by dragging and dropping the photos into the album window, or using an “Add Photos” button.
4. Organize the photos: Arrange the photos in the desired order within the album. Most tools allow you to drag and drop photos to rearrange them.
5. Add captions or descriptions (optional): If you want to provide more context to your photos, you can add captions or descriptions to each photo within the album.
6. Save or publish the album: Once you have added all the photos and made any necessary edits, save or publish the album. This will finalize the process and make the album available for viewing.
By following these steps, you can easily add photos to a photo album and create a visually appealing collection of memories.
How do I take pictures of photos into an album?
To take pictures of photos into an album, follow these steps:
1. Gather your photos: Collect the physical photos you want to include in your album.
2. Choose a well-lit area: Find a place with good lighting to ensure clear and sharp pictures.
3. Set up your camera or smartphone: Use a camera or smartphone with a high resolution to capture details.
4. Place the photo in a flat surface: Lay the photo flat on a clean surface to avoid shadows or reflections.
5. Adjust the angle and distance: Position the camera directly above the photo and adjust the distance to fill the frame.
6. Take the picture: Ensure the image is focused and press the shutter button to capture the photo.
7. Review and retake if necessary: Check the picture for clarity and make any adjustments needed. Retake the photo if it’s not up to your standards.
8. Save the digital copies: Transfer the digital photos to your computer or storage device for safekeeping and to create your digital photo album.
By following these steps, you can effectively take pictures of photos to create a digital album.
How can I create a photo album with pictures?
To create a photo album with pictures, you can follow these steps:
1. Choose a theme: Decide on a theme or concept for your photo album. It could be a specific event, a year in review, a travel destination, or any other idea that ties your pictures together.
2. Select your photos: Gather the photos you want to include in the album. Make sure they are high-quality and relevant to the chosen theme.
3. Organize your photos: Arrange your photos in the order you want them to appear in the album. You can group them chronologically, by event, or in any other way that makes sense for your theme.
4. Choose an album format: Decide whether you want to create a digital photo album or a physical one. Digital options include online services, social media platforms, or photo album software. Physical options could be traditional photo albums, scrapbooks, or custom-made photo books.
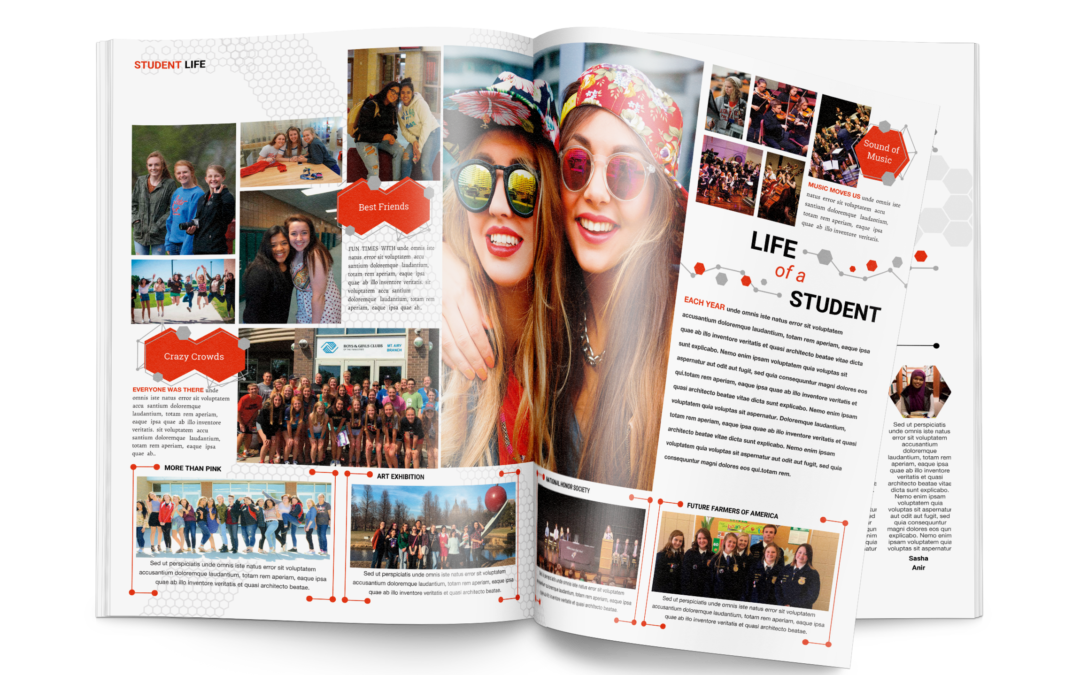
5. Design your layout: If you’re creating a digital photo album, you can use templates provided by the platform you choose or customize your layout. For physical albums, consider the placement of photos, text, and any additional decorations or embellishments.
6. Add captions or descriptions: Write captions or descriptions for your photos to provide context or tell a story. This step is optional but can add a personal touch to your album.
7. Review and finalize: Take a final look at your photo album before printing or sharing it. Make sure everything looks as you want it, and make any necessary adjustments.
8. Print or share your album: If you created a physical album, print it out and assemble it according to your design. If it’s a digital album, you can share it online with friends and family or have it printed and bound professionally.
By following these steps, you can create a beautiful photo album that showcases your pictures in a meaningful and organized way.
How can I organize photos on my iPhone into an album?
To organize photos on your iPhone into an album, follow these steps:
1. Open the Photos app on your iPhone.
2. Tap on the “Albums” tab at the bottom of the screen.
3. Select “Create Album” to make a new album.
4. Name your album and tap “Save.”
5. Go back to your photo library and select the photos you want to add to the album.
6. Tap the Share icon (square with an arrow pointing up) and select “Add to Album.”
7. Choose the album you created and tap “Done.”
Now, your photos are organized into the album you created on your iPhone. You can easily access them by going to the Albums tab in the Photos app.
Frequent Questions
How do I organize my photos before putting them in a photo album?
Sort your photos by date, event, or theme to organize them before putting them in a photo album.
What size photo album should I use for different photo prints?
The size of the photo album you should use depends on the size of the photo prints you want to include. Choose an album that accommodates the largest size of photo prints you plan to use for a cohesive look.
Are there any tips for preserving the quality of my photos when placing them in a photo album?
Avoid exposing the photos to direct sunlight and humidity, use acid-free photo-safe materials, and handle them with clean hands to preserve their quality in a photo album.
In conclusion, organizing your memories in a photo album can be a fulfilling and creative process. By following these simple steps on how to put photos in a photo album, you can create a beautiful collection that will last for years to come. Remember to choose a high-quality album, arrange your photos thoughtfully, and add personal touches to make it truly special. Enjoy the journey of curating your photo album and reliving those precious moments every time you flip through its pages.