Create a stunning photo wall collage that will elevate the look of any space in your home. In this article, discover step-by-step tips and tricks for achieving a visually appealing arrangement that captures your unique style and memories. Let’s transform your walls into a personalized gallery!

Creating a Stunning Photo Wall Collage: A Step-by-Step Guide
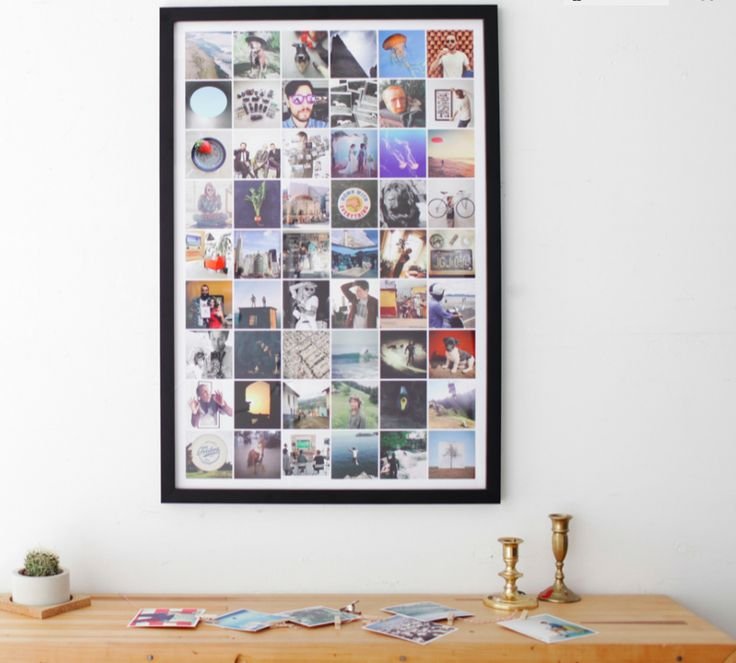
When it comes to creating a visually appealing photo wall collage, planning is key. Start by selecting a theme or color scheme to ensure cohesiveness in your collage.
Next, gather a variety of photos in different sizes and shapes that fit your chosen theme. Consider mixing portrait and landscape orientations to add visual interest.
Arrange your photos on the floor first before hanging them on the wall. Play around with different layouts until you find one that works best. Don’t be afraid to mix in other elements like artwork or decorative items to enhance the collage.
Once you’re happy with the arrangement, start hanging your photos using adhesive hooks or frames for a polished look. Make sure to measure carefully to ensure a balanced and visually appealing display.
Lastly, step back and admire your masterpiece! A well-executed photo wall collage can add a personal touch to any room and serve as a conversation starter for guests.
Top 5 Picture Hanging Tips
NEVER TOO SMALL: How to Create a Gallery Wall
How can a picture collage be made on the wall?
To create a picture collage on the wall, follow these steps:
1. Choose a Theme: Decide on a theme for your collage, whether it’s based on colors, a specific event, or a mix of various photos.
2. Select Photos: Gather the photos you want to include in the collage. Make sure they fit the theme and are of good quality.
3. Plan the Layout: Before putting anything on the wall, arrange the photos on the floor to see how you want them to be placed. You can also use a grid system for a more organized look.
4. Prepare the Wall: Clean the wall surface where you plan to hang the collage. Use a level to ensure your collage will be straight.
5. Hang the Photos: Start hanging the photos on the wall according to your layout plan. You can use tape, adhesive strips, nails, or a combination of these methods.
6. Adjust as Needed: Step back and look at the collage from a distance to make sure everything looks balanced. Rearrange or add more photos if necessary.
7. Final Touches: Once you’re satisfied with the placement, consider adding other decorative elements like empty frames, string lights, or art prints to enhance the collage.
By following these steps, you can create a visually appealing picture collage on your wall that showcases your creativity and personality.
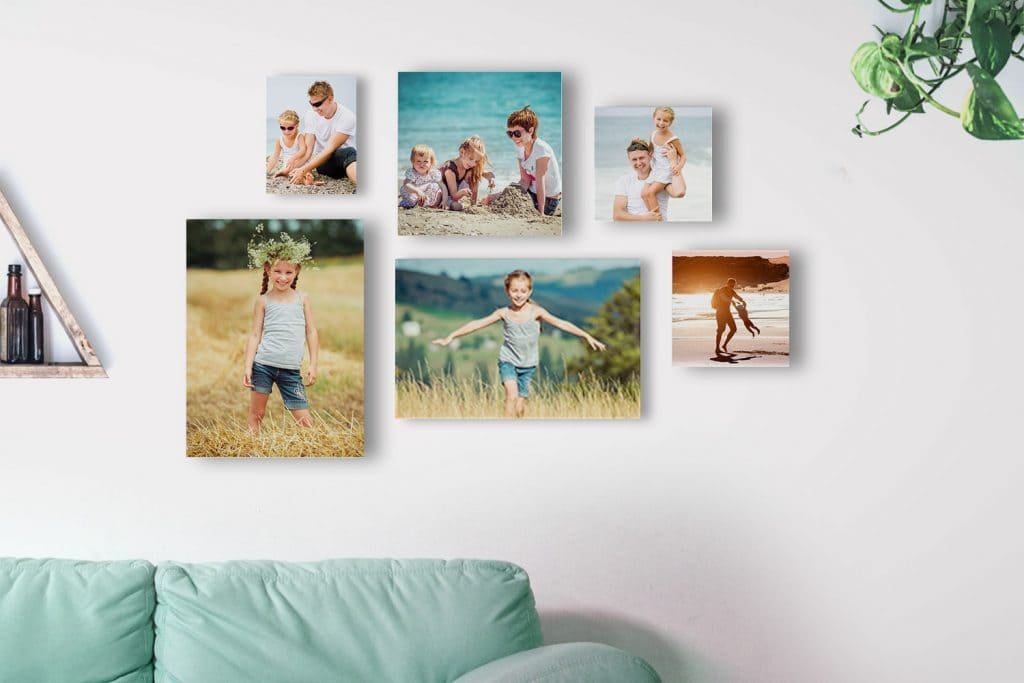
How can you create a photo wall collage without frames?
Creating a photo wall collage without frames can be a creative and unique way to display your photos. Here are some ideas on how to achieve this:
1. Clipboards: Use clipboards to clip and hang your photos on the wall. This allows you to easily switch out photos whenever you want.
2. Washi Tape: Create a geometric design on your wall using washi tape and simply stick your photos directly onto the tape. This adds a fun and colorful element to your collage.
3. String Lights: Hang string lights on your wall and use clothespins to attach your photos to the lights. This creates a cozy and whimsical display.
4. Polaroids: If you have polaroid photos, you can directly stick them onto the wall in a random or organized pattern. This gives a retro and nostalgic feel to your collage.
5. Photo Mobile: Create a hanging photo mobile using twine or wire, and attach your photos to it. This adds movement and visual interest to your collage.
These are just a few ideas to create a photo wall collage without frames. Get creative and have fun designing a display that reflects your style and personality.
How can a photo frame be designed on a wall?
To design a photo frame on a wall for a Photo Collage, follow these steps:
1. Choose a focal point: Select a prominent wall in your space where you want to create the photo frame.
2. Gather your materials: Collect the photos you want to include in the collage, as well as any frames, washi tape, nails, or other supplies you may need.
3. Plan the layout: Before hanging anything on the wall, arrange the photos on the floor to experiment with different layouts and orientations.
4. Measure and mark: Once you’ve settled on a layout, measure the wall space and mark where each photo will go using a pencil.
5. Hang the photos: Use nails, adhesive strips, or washi tape to secure the photos to the wall according to your layout.
6. Add personal touches: Consider including decorative elements like string lights, plants, or art prints to enhance the overall look of the photo frame.
7. Step back and admire: Stand back and view your completed photo frame to ensure everything is aligned and balanced to your liking.
By following these steps, you can create a visually appealing photo frame on your wall for a stunning Photo Collage display.
How can you create your own photo collage?
To create your own photo collage, follow these steps:
1. Choose a theme or concept for your collage – Decide on the overall look and feel you want to achieve with your collage. This could be based on a specific event, a color scheme, or a particular style.
2. Select your photos – Gather the photos you want to include in your collage. Make sure they fit well together and convey your chosen theme effectively.
3. Choose a collage maker tool – There are many online tools and apps available that can help you create a photo collage. Some popular options include Canva, PicCollage, and Adobe Spark.
4. Upload your photos – Use the collage maker tool to upload your selected photos. Arrange them in the desired layout, experimenting with different configurations until you are happy with the overall composition.
5. Add design elements – Enhance your collage by adding text, stickers, backgrounds, or other design elements to make it more visually appealing and personalized.
6. Adjust spacing and alignment – Fine-tune the spacing and alignment of your photos and design elements to ensure a polished finished product.
7. Preview and save your collage – Before finalizing your collage, preview it to make any necessary adjustments. Once you are satisfied with the result, save your collage in the desired format and resolution.
8. Share your collage – Share your completed photo collage with friends and family on social media, print it out to display in your home, or use it as a creative gift for someone special.
By following these steps and letting your creativity flow, you can create a unique and eye-catching photo collage that showcases your favorite memories and moments in a visually appealing way.
Frequent Questions
How do I choose the best layout for a photo wall collage?
The best way to choose the layout for a photo wall collage is to consider the size and shape of your wall, select a theme or color scheme, and experiment with different arrangements before committing to one.
What materials do I need to create a photo wall collage?
The materials needed to create a photo wall collage include printed photos, scissors, adhesive, frame or cork board, and decorative elements such as washi tape or stickers.
Are there any tips for arranging photos in a visually appealing way on a wall collage?
Balance is key when arranging photos in a wall collage for a visually appealing display.
In conclusion, creating a photo wall collage is a fantastic way to showcase your memories and add a personal touch to your living space. Remember to plan your layout carefully, experiment with different arrangements, and most importantly, have fun with the process! Whether you go for a cohesive theme or a mix of various styles, your photo wall collage will surely become a focal point in your home. Let your creativity shine and turn your wall into a work of art that tells your unique story.