Ready to turn your walls into a stunning gallery? In this guide, we’ll show you step-by-step how to perfectly hang and arrange your photo collage for a professional look. Let’s get started!

Master the Art of Hanging a Photo Collage with These Expert Tips
Hanging a photo collage can be a creative and visually stunning way to display your favorite memories. Here are some expert tips to help you master this art:
1. Plan the Layout: Before you start hanging your photos, plan out the layout on the wall using strong paper templates. This will help you visualize how the collage will look before making any holes.
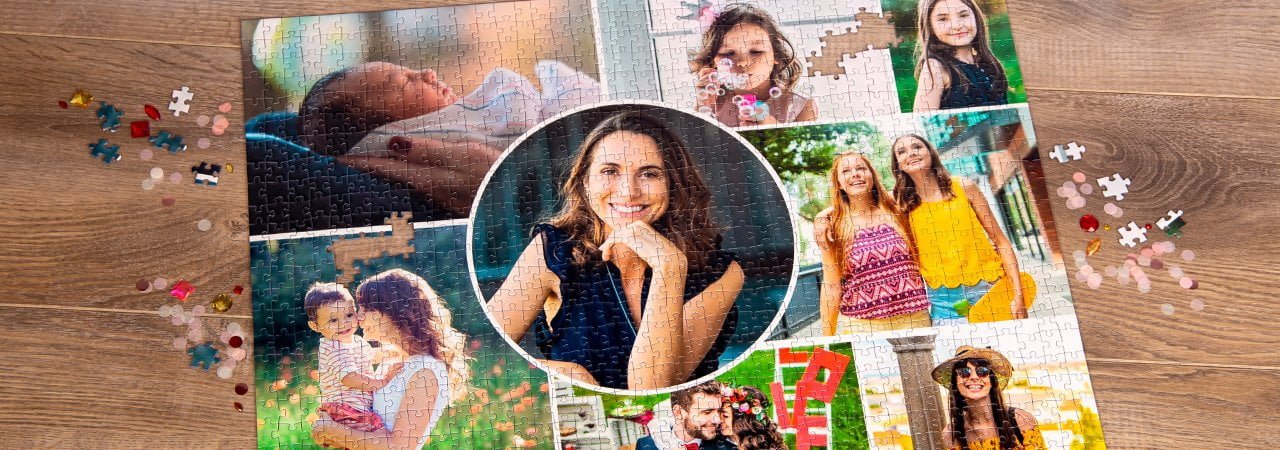
2. Choose a focal point: Select a central piece or photo to anchor your collage around. This will help create a cohesive look and make it easier to arrange the other photos around it.
3. Use Command Strips: Opt for Command strips or hooks to hang your photos instead of nails. They are easy to use, won’t damage your walls, and allow for easy rearrangement of the collage.
4. Ensure Proper Alignment: Use a level to make sure your photos are hung straight and aligned properly. This will give your collage a polished and professional look.
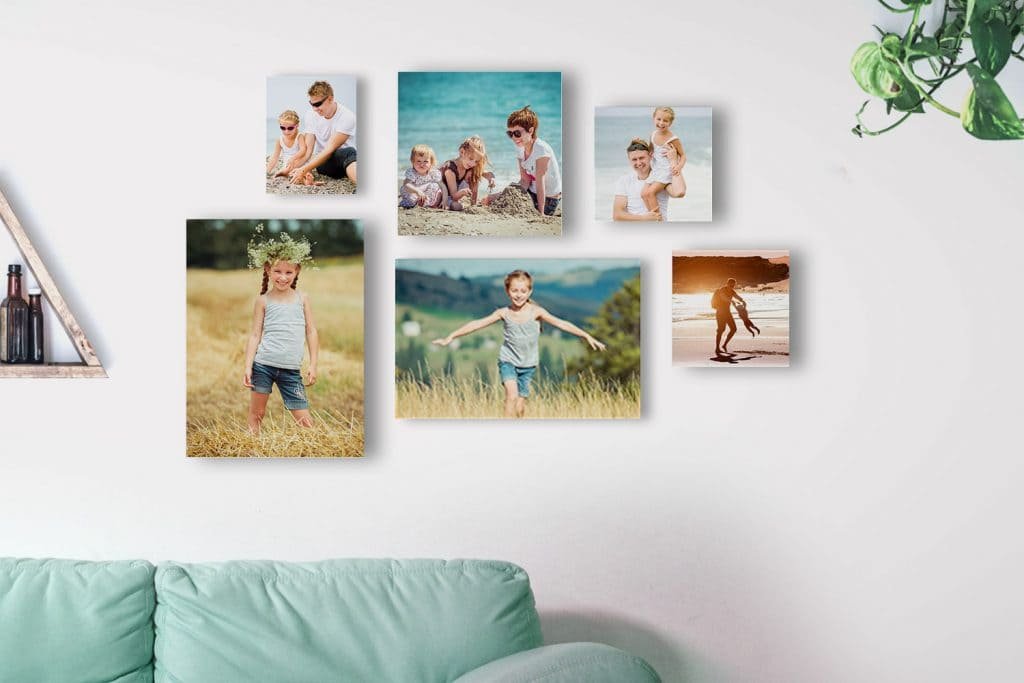
5. Play with Different Sizes: Mix and match different sizes and shapes of photos to add visual interest to your collage. Experiment with overlapping, staggering, or clustering photos for a dynamic display.
By following these expert tips, you can master the art of hanging a photo collage and create a beautiful display that showcases your cherished memories.
17 *Simple* Ways To Make Your Home LOOK EXPENSIVE!
10 simple collage techniques you NEED to try (for beginners!)
How to hang a picture collage on a wall?
To hang a picture collage on a wall, follow these steps:
1. Choose a location: Decide where you want to hang your picture collage. Make sure it’s at the right height and in a spot where it can be easily seen.
2. Prepare the wall: Clean the wall surface and ensure it is smooth and free of any dust or debris.
3. Arrange the pictures: Lay out your picture collage on the floor first to determine the arrangement of the photos. Once you are satisfied with the layout, take a photo of it for reference.
4. Measure and mark: Use a tape measure to determine the center of the wall and mark it lightly with a pencil. Measure and mark the hanging points for each picture based on your layout.
5. Install hanging hardware: Install hanging hardware such as nails, screws, hooks, or picture hangers at the marked points on the wall. Make sure they are level and securely attached.
6. Hang the pictures: Starting from the center, hang each picture according to your layout. You may need a level to ensure each picture is straight.
7. Adjust as needed: Step back and assess the overall look of your picture collage. Make adjustments as necessary to achieve the desired aesthetic.
8. Enjoy your collage: Once everything is hung up to your satisfaction, step back and admire your picture collage on the wall.
By following these steps, you can create a visually appealing picture collage display in your space.
How do you hang a group of pictures?
Hanging a group of pictures as a photo collage can create a stunning visual display in your home. Here are some tips on how to do it effectively:
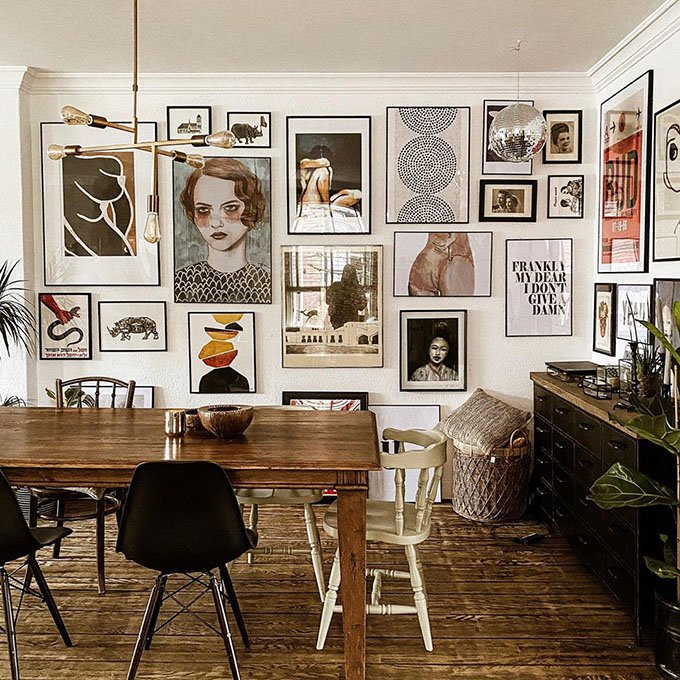
1. Plan the Layout: Before hanging your pictures, decide on the layout you want to create. You can arrange them in a grid pattern, a cluster, or in a linear fashion depending on your preference.
2. Prepare Your Wall: Make sure the wall where you plan to hang the pictures is clean and free of any debris. Use a level to ensure your pictures will hang straight.
3. Use Templates: To help with spacing and alignment, consider creating templates of your pictures using paper or cardboard. This will allow you to arrange and rearrange the layout before making any holes in the wall.
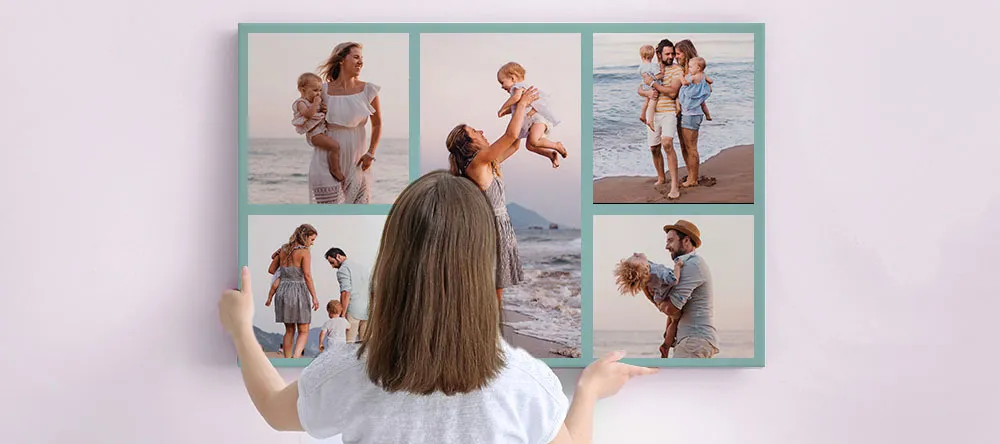
4. Hang Pictures at Eye Level: When hanging your pictures, aim to place the center of the collage at eye level. This will make it easier for viewers to appreciate the arrangement.
5. Consider Frames: Choosing frames that complement each other can enhance the overall look of your photo collage. You can opt for matching frames for a cohesive look or mix and match for a more eclectic feel.
6. Securely Hang Pictures: Use appropriate hanging hardware such as nails, hooks, or picture hanging strips to securely attach your pictures to the wall. Make sure to follow the weight guidelines for the hardware you choose.
7. Step Back and Adjust: Once you have hung your pictures, step back and assess the overall look. Feel free to make adjustments as needed to achieve the desired aesthetic.
By following these tips, you can create a beautiful and personalized photo collage that adds character and charm to your space.
How do you stick a collage?
To stick a photo collage, you can use photo-safe adhesive such as glue sticks, double-sided tape, or photo corners. Make sure to choose an adhesive that is acid-free and won’t damage your photos over time. Creative approaches such as using washi tape or decorative stickers can also add a fun touch to your collage. Before sticking the photos, lay them out on a surface to plan the arrangement. Once you’re satisfied with the layout, carefully attach each photo to the background. Press down gently to ensure they are securely attached. Finally, consider framing your collage to protect it and give it a polished look.
How high should a collage of pictures be hung?
When hanging a photo collage, the height at which it should be hung depends on various factors such as the size of the collage, the placement in the room, and personal preference. However, a general guideline is to hang the center of the collage at eye level, which is typically around 57 to 60 inches from the floor to the center of the artwork. This ensures that the collage is easily viewable and creates a visually appealing display. Ultimately, the best height for hanging a photo collage is one that complements the overall aesthetic of the space and can be adjusted based on individual circumstances.
Frequent Questions
What are the best methods for hanging a photo collage?
The best methods for hanging a photo collage are using picture hooks or nails, adhesive strips, gallery-style hanging systems, or frames with hardware.
Are there specific tools or materials needed to hang a photo collage?
Yes, specific tools and materials such as nails, hammer, level, picture hooks, and wall anchors may be needed to hang a photo collage securely.
How can I ensure that my photo collage is securely mounted on the wall?
To ensure that your photo collage is securely mounted on the wall, use quality adhesive hooks or hanging strips designed for larger, heavier items. Make sure to follow the manufacturer’s instructions for maximum weight capacity and proper application to avoid any damage to your collage or the wall.
In conclusion, creating and hanging a photo collage can be a fun and rewarding project that allows you to showcase your favorite memories and moments in a creative way. Remember to carefully plan out the layout, use proper tools and techniques for hanging, and consider the overall aesthetic of the space where it will be displayed. With these tips in mind, you’ll be able to enjoy your photo collage for years to come. Happy crafting!