Looking to add a personal touch to your events? Discover how to set up a DIY photo booth printer for your celebrations. Let’s dive into the world of creativity and fun with the best photo studio tips and tricks!

DIY Photo Booth Printer: The Ultimate Guide to Printing Your Own Pictures
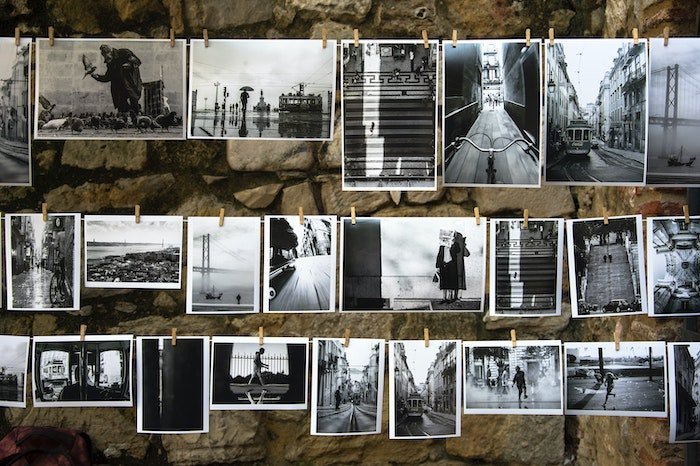
Are you looking to set up your own photo booth printer at home or for an event? Printing your own pictures can be a fun and creative way to capture memories. With the right tools and techniques, you can easily create a DIY photo booth printer that produces high-quality prints. In this ultimate guide, we will walk you through the process step by step, from selecting the right printer to setting up the perfect photo booth experience.
Choosing the Right Printer
The first step in creating your DIY photo booth printer is selecting the right printer for your needs. Look for a printer that is compact, easy to use, and produces high-quality prints. Inkjet printers are a popular choice for photo printing due to their ability to produce vibrant colors and sharp details. Consider factors such as print speed, print quality, and connectivity options when choosing the perfect printer for your DIY photo booth.
Setting Up Your Photo Booth
Once you have chosen the right printer, it’s time to set up your photo booth. Create a backdrop that fits the theme of your event or the aesthetic you want to achieve. Set up adequate lighting to ensure that your pictures turn out clear and well-lit. Consider adding props or accessories to enhance the fun and creativity of your photo booth experience.
Printing Your Pictures
To print your pictures, simply connect your camera or smartphone to the printer and select the images you want to print. Make sure to adjust the print settings for optimal results, such as paper type and print size. Monitor the printing process to ensure that your pictures come out exactly as you envisioned.
Conclusion
Creating your DIY photo booth printer can be a rewarding and enjoyable project. With the right tools and techniques, you can easily bring your pictures to life and capture memories in a unique way. Follow this ultimate guide to printing your own pictures and enjoy the creative process of DIY photo printing.
Best Printer For DIY Photo Booth In 2023
BEST WAY TO PRINT WITH IPAD PHOTO BOOTH – 2X6 AND 4X6 PRINTS LUMABOOTH
What printer can I use for a photo booth?
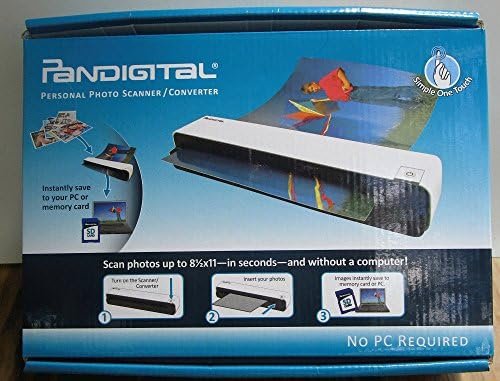
For a photo booth, you’ll want a printer that can quickly produce high-quality prints. One popular option is the DNP DS-RX1HS photo printer, known for its speed and excellent print quality. Another great choice is the Mitsubishi CP-D90DW, which also offers fast printing speeds and vibrant colors. Both of these printers are commonly used in photo booths due to their reliability and professional results.
How do I create my own photo booth prints?
To create your own photo booth prints, you will need the following materials and equipment:
1. Photo Booth: Set up a photo booth with a camera and a backdrop where people can pose and take pictures.
2. Printer: Use a high-quality photo printer to print out the photos instantly.
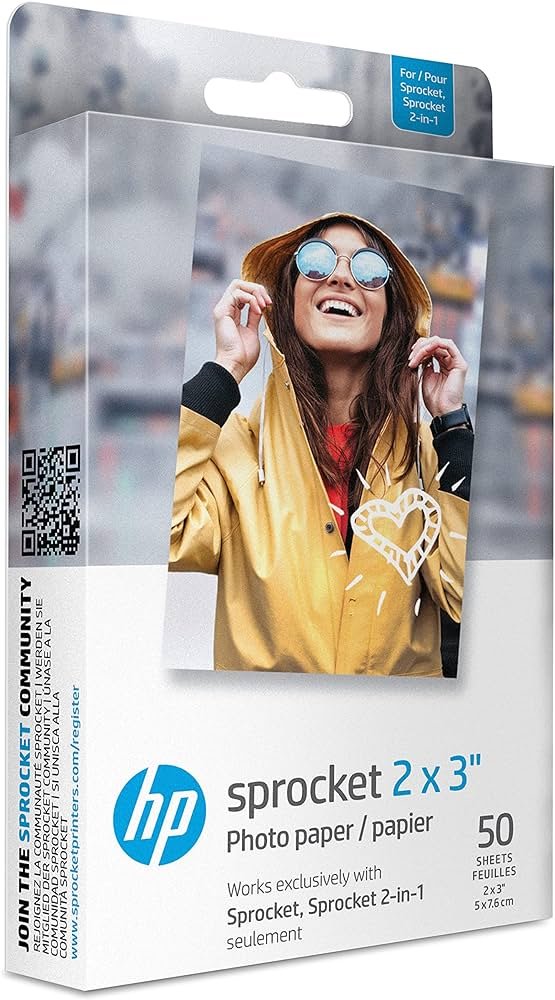
3. Photo Paper: Get glossy or matte photo paper in the size you want for your prints.
4. Design Software: Use design software like Photoshop or Canva to create a custom template for your prints.
5. Props and Accessories: Provide props and accessories for people to use in their photos, such as hats, glasses, and signs.
6. Printing Station: Set up a printing station next to the photo booth where people can select and print their photos.
7. Instructions: Clearly display instructions on how to print the photos, including any payment methods if applicable.
Once you have all the necessary materials and equipment, follow these steps to create your own photo booth prints:
1. Take Photos: Encourage people to use the photo booth and take fun pictures with the props provided.
2. Select Template: Have them choose a template for their prints from the options you have created in the design software.
3. Print Photos: Once they have selected a template, print out the photos using the photo printer and photo paper.
4. Cut and Distribute: Cut the prints to size if needed and distribute them to the guests.
By following these steps, you can create personalized and unique photo booth prints for any event or occasion.
How can I create a DIY photo booth?
To create a DIY photo booth for your event, you will need the following materials:
1. A backdrop: Use a colorful fabric or a decorative paper as the background for your photos.
2. Lighting: Make sure to have good lighting to ensure high-quality photos. You can use lamps or string lights for this purpose.
3. Camera: Set up a camera on a tripod or use a smartphone with a timer function for taking photos.
4. Props: Gather fun props like hats, glasses, and signs to add an element of fun to the photos.
5. Printer: Have a photo printer ready to instantly print out the photos for your guests to take home.
To set up the DIY photo booth, place the backdrop in a well-lit area, set up the camera facing the backdrop, and arrange the props nearby for guests to use. Encourage guests to take photos using the props and have fun with different poses. Once they’ve taken their photos, they can use the printer to get instant prints as a keepsake from the event.
How to print out photo booth strips?
To print out photo booth strips, you will need to use a photo printing service that offers this specific format. Here are the steps to follow:
1. Take your photos in the photo booth and select the option to print them as strips.
2. Save the digital file or receive a physical copy of the photo booth strips.
3. Go to a photo printing service that supports photo booth strip printing.
4. Upload the photo booth strip file on the printing service’s website.
5. Choose the printing size, paper type, and any other customizations you prefer.
6. Place your order and wait for the photo booth strips to be printed and delivered to you.
Make sure to check the quality and resolution of your photo booth strips before printing to ensure the best results.
Frequent Questions
How can I set up a DIY photo booth printer for my event?
You can set up a DIY photo booth printer for your event by connecting a compact photo printer to a tablet or laptop that guests can use to print their photos instantly.
What are the necessary equipment and supplies needed for a DIY photo booth printer?
The necessary equipment and supplies needed for a DIY photo booth printer include a photo printer, a camera or webcam, a computer or tablet, photo editing software, a photo booth backdrop, and printer paper and ink cartridges.
Is it cost-effective to invest in a DIY photo booth printer for personal use?
Yes, investing in a DIY photo booth printer for personal use can be cost-effective in the long run.
In conclusion, setting up a DIY photo booth printer can add an exciting and personalized touch to any event or gathering. By following these steps, you can create lasting memories for you and your guests with customized prints. Embrace the creativity and fun that come with this project, and watch as your photos instantly transform into tangible mementos. Start printing, start smiling, and start cherishing those special moments today!