Get creative this holiday season with these DIY Christmas backdrops for photography. Transform your photo studio into a winter wonderland with these easy and budget-friendly ideas. Perfect for capturing festive memories!

Creative DIY Christmas Backdrops to Elevate Your Photography Skills
Looking to take your Christmas photography to the next level this holiday season? Why not try creating your own DIY Christmas backdrops to elevate your photos and impress your friends and family. Here are some creative ideas to get you started:
1. Festive Wrapping Paper: Use colorful and patterned wrapping paper as a backdrop for your Christmas photos. This simple and affordable option can add a fun and festive touch to your images.
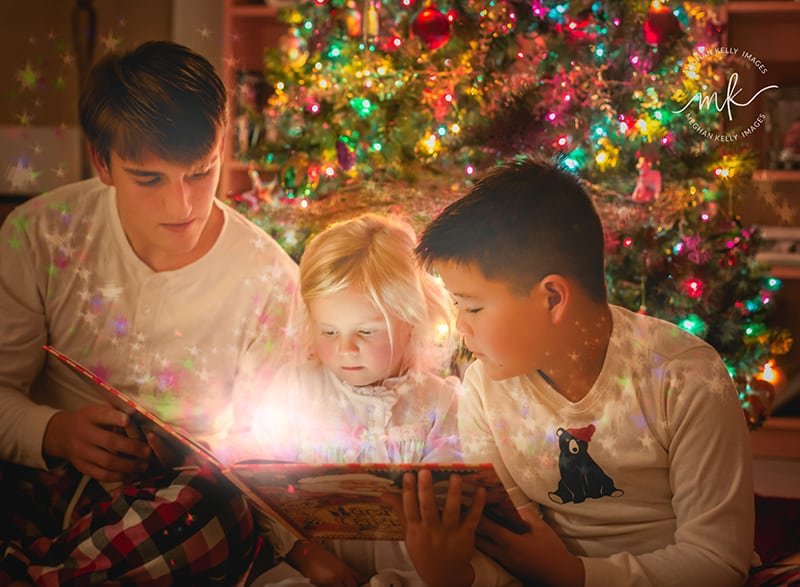
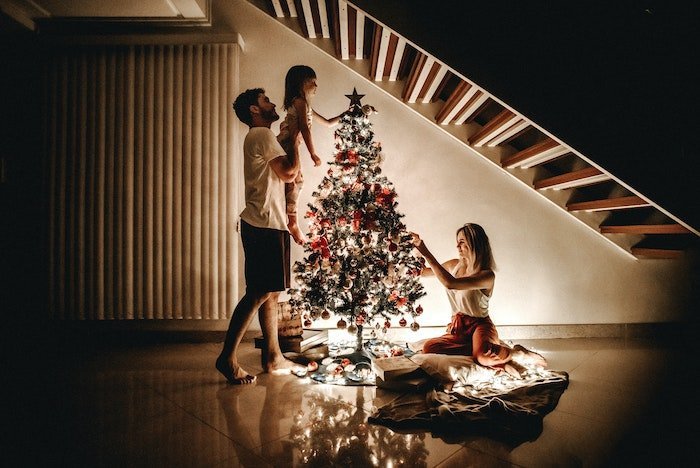
2. String Lights: Create a warm and cozy atmosphere by using string lights as a backdrop. You can hang them vertically or horizontally behind your subject to add a magical glow to your photos.
3. Nature Inspired: Head outdoors and gather some natural elements like pinecones, branches, or leaves to create a rustic and charming backdrop. Arrange them in a pleasing composition and let nature be the star of your photos.
4. Christmas Ornaments: Hang a variety of Christmas ornaments in front of a plain backdrop to create a colorful and whimsical scene. Play around with different shapes, sizes, and colors to make your photos pop.
5. Festive Fabrics: Draping festive fabrics like plaid, velvet, or faux fur can instantly create a cozy and inviting backdrop for your Christmas photos. Mix and match textures for added visual interest.
Get creative this holiday season and elevate your Christmas photography skills with these DIY backdrops! Happy shooting!
Simply set up a Christmas backdrop!
Kate Christmas Backdrop-How to Take dreamlike Xmas mini-sessions?
How can I create a Christmas photo backdrop?
To create a Christmas photo backdrop, you can follow these steps:
1. Choose a theme: Decide on the overall look and feel you want for your backdrop, whether it’s traditional Christmas colors, winter wonderland, or a specific holiday motif like snowflakes or ornaments.
2. Select materials: Get creative with materials such as festive fabric, wrapping paper, garlands, lights, ornaments, or even a Christmas tree. These items can be used to create layers and textures for your backdrop.
3. Set up the backdrop: Use a sturdy support system like a photography backdrop stand or simply tape or hang your materials on a wall. Make sure the backdrop is large enough to fill the frame of your photos.
4. Add lighting: Lighting plays a crucial role in photography. Consider using string lights, LED candles, or spotlights to create a warm and inviting atmosphere for your Christmas photos.
5. Personalize the backdrop: Feel free to add personal touches like photos of loved ones, handmade ornaments, or a custom banner with a festive message to make the backdrop unique to your style.
6. Test and adjust: Before starting your Christmas photo shoot, test out the backdrop to see how it looks through the lens of your camera. Make any necessary adjustments to ensure the backdrop enhances your photos.
By following these steps, you can create a beautiful and festive Christmas photo backdrop that will add an extra special touch to your holiday photography sessions.
What app makes Christmas backgrounds?
One popular app that creates Christmas backgrounds is Canva. Canva offers a wide range of customizable templates, including festive designs perfect for the holiday season. Users can easily add their own photos, text, and graphics to create unique and personalized Christmas backgrounds for photography or social media posts.
How to make a DIY photography backdrop?
To make a DIY photography backdrop for Christmas photography, you can follow these steps:
1. Choose a theme: Decide on the Christmas theme you want for your backdrop, such as snowflakes, ornaments, or a winter wonderland.
2. Gather materials: Collect materials like colored paper, fabric, ribbons, lights, and any other decorations that fit your chosen theme.
3. Prepare the backdrop: Hang a large piece of fabric or paper as the base of your backdrop. You can use a wall, curtain rod, or backdrop stand to hang it.
4. Add decorations: Arrange and attach your decorations to the base. You can use tape, glue, pins, or clips to secure them in place.
5. Include lighting: Add fairy lights or other Christmas lights to create a warm and festive ambiance. Make sure the lights are evenly distributed across the backdrop.
6. Personalize: Consider adding personalized elements like a banner with a holiday message or props that tie into your theme.
7. Test and adjust: Once you’ve set up your DIY Christmas photography backdrop, test it out with some sample photos. Make any necessary adjustments to ensure it looks great on camera.
By following these steps, you can create a unique and festive backdrop for your Christmas photography sessions. Have fun getting creative and capturing the holiday spirit in your photos!
How to create a Christmas photo booth?
To create a Christmas photo booth, follow these steps:
1. Choose a Theme: Decide on the style and color scheme of your Christmas photo booth. Popular themes include winter wonderland, Santa’s workshop, or a classic red and green Christmas.
2. Backdrop: Create or purchase a festive backdrop for your photo booth. This could be a decorated Christmas tree, a shimmering curtain of tinsel, or a wall covered in snowflakes and twinkling lights.
3. Props: Gather a variety of Christmas-themed props for guests to use in their photos. Think Santa hats, reindeer antlers, elf ears, oversized ornaments, and sparkly garlands.
4. Lighting: Make sure the lighting in your photo booth is flattering and bright. Consider using string lights, fairy lights, or LED light strips to create a warm and inviting glow.
5. Camera Setup: Set up a camera on a tripod to allow guests to take their own photos easily. If you prefer, you can also hire a photographer to capture the moments for your guests.
6. Printing Station: Provide a printer or instant camera for guests to print out their pictures as keepsakes. You can also offer digital copies for guests to download later.
7. Signage: Create signage or chalkboard messages with fun holiday greetings or instructions for guests on how to use the photo booth.
By following these steps, you can create a festive and fun Christmas photo booth that will be a hit at any holiday gathering.
Frequent Questions
How can I create DIY Christmas backdrops for photography at home?
You can create DIY Christmas backdrops for photography at home using materials like wrapping paper, fairy lights, ornaments, and fabric scraps.
What materials do I need to make festive backdrops for Christmas photography?
For festive backdrops for Christmas photography, you will need colorful wrapping paper, string lights, ornaments, snowflakes, and holiday-themed props.
Are there any tips or ideas for designing unique Christmas-themed backdrops for photography sessions?
Yes, there are plenty of tips and ideas for designing unique Christmas-themed backdrops for photography sessions!
In conclusion, creating DIY Christmas backdrops for photography can add a personal and unique touch to your holiday photoshoots. These backdrops not only enhance the festive spirit but also allow you to showcase your creativity and craft skills. Whether you opt for traditional or modern designs, the key is to have fun and experiment with different elements to capture the magic of the season. So grab your camera, set up your homemade backdrop, and get ready to create stunning Christmas memories that will last a lifetime!